Recently, while working on a project for my client, I created a feedback UI component. So, here I am sharing how I created that component. Even though its a simple component, the same concept can be used to create similar other interesting components.
Below is the code for small feedback component :
import React, { Component } from 'react';
import {
  StyleSheet,
  Text,
  View,
  Slider,
  Image
} from 'react-native';
import Svg,{
    Path
} from 'react-native-svg';
const size = 50
const size75 = size*75/100
const size50 = size*50/100
import * as scale from 'd3-scale';
const d3 = {
  scale
};
var points = [
  [1,1],
  [25,10]
  ];

var multiLine = d3.scale.scaleLinear()
    .domain(
      points.map(function(p){return p[0];})
    )
    .range (
      points.map(function(p){return p[1];})
    );
export default class Smile50 extends Component {
  constructor(props) {
      super(props);
      this.state = {
        val: 1,
        smile: 1
      }
  }
  slidingChange(val){
    this.setState({ val })
  }
  getVal(val){
    this.setState({ smile: val})
  }
  render() {
    const val = this.state.smile
    const dVal = "M6 10 Q19 "+val+" 32 10"
    return (
      <View style={styles.container}>
        <Text style={styles.title}>
          Give Rating between 1 - 10!
        </Text>

        <Image
          style={{width: size, height: size}}
          source={require('./src/images/facenomouth.png')}
        >
          <Svg
              height={size75}
              width={size75}
              style={{alignSelf: "center", marginTop: size50}}
          >
          <Path
              d={dVal}
              fill="none"
              stroke="red"
              strokeWidth="3"
          />
          </Svg>
        </Image>
        <Text style={styles.rating}>
          { parseInt(multiLine(this.state.val)) }
        </Text>
        <Slider
         style={{ width: 300 }}
         step={1}
         minimumValue={1}
         maximumValue={25}
         value={this.state.val}
         onValueChange={val => this.slidingChange(val)}
         onSlidingComplete={ val => this.getVal(val)}
        />
      </View>
    );
  }
}

const styles = StyleSheet.create({
  container: {
    flex: 1,
    justifyContent: 'center',
    alignItems: 'center',
    backgroundColor: '#F5FCFF',
  },
  title: {
    fontSize: 20,
    textAlign: 'center',
    margin: 10,
  },
  rating: {
    textAlign: 'center',
    color: '#333333',
    marginBottom: 5,
    marginTop: 10,
    fontWeight: "bold"
  },
});
In the above code an Image component is used to render a smiley image with eyes but without mouth. We are creating mouth using react-native-svg component, so that we can animate it on different user feedback. Slider component is used to take user feedback input. So when user moves the slider, mouth of the smiley changes from sad to happy with smooth animation (morphing). Also to interpolate the change in value between animation of mouth and movement of slider d3-scale component is used. So we can keep the feedback range as per our requirement i.e. 1 to 5, 1 to 10, 1 to 100, etc.
Similar to the above component, I created a bigger feedback component with bigger face. Below is the code for the same :
import React, { Component } from 'react';
import {
  StyleSheet,
  Text,
  View,
  Slider,
  Image
} from 'react-native';
import Svg,{
    Path
} from 'react-native-svg';
const size = 100
const size75 = size*75/100
const size50 = size*50/100

export default class Smile100 extends Component {
  constructor(props) {
      super(props);
      this.state = {
        val: 1,
        smile: 1
      }
  }
  slidingChange(val){
    this.setState({ val })
  }
  getVal(val){
    this.setState({ smile: val})
  }
  render() {
    const val = this.state.smile
    const dVal = "M15 20 Q40 "+val+" 60 20"
    return (
      <View style={styles.container}>
        <Text style={styles.title}>
          Give Rating between 1 - 10!
        </Text>

        <Image
          style={{width: size, height: size}}
          source={require('./src/images/facenomouth.png')}
        >
          <Svg
              height={size75}
              width={size75}
              style={{alignSelf: "center", marginTop: size50}}
          >
          <Path
              d={dVal}
              fill="none"
              stroke="red"
              strokeWidth="5"
          />
          </Svg>
        </Image>
        <Text style={styles.rating}>
          { parseInt(multiLine(this.state.val)) }
        </Text>
        <Slider
         style={{ width: 300 }}
         step={1}
         minimumValue={1}
         maximumValue={50}
         value={this.state.val}
         onValueChange={val => this.slidingChange(val)}
         onSlidingComplete={ val => this.getVal(val)}
        />
      </View>
    );
  }
}

const styles = StyleSheet.create({
  container: {
    flex: 1,
    justifyContent: 'center',
    alignItems: 'center',
    backgroundColor: '#F5FCFF',
  },
  title: {
    fontSize: 20,
    textAlign: 'center',
    margin: 10,
  },
  rating: {
    textAlign: 'center',
    color: '#333333',
    marginBottom: 5,
  },
});
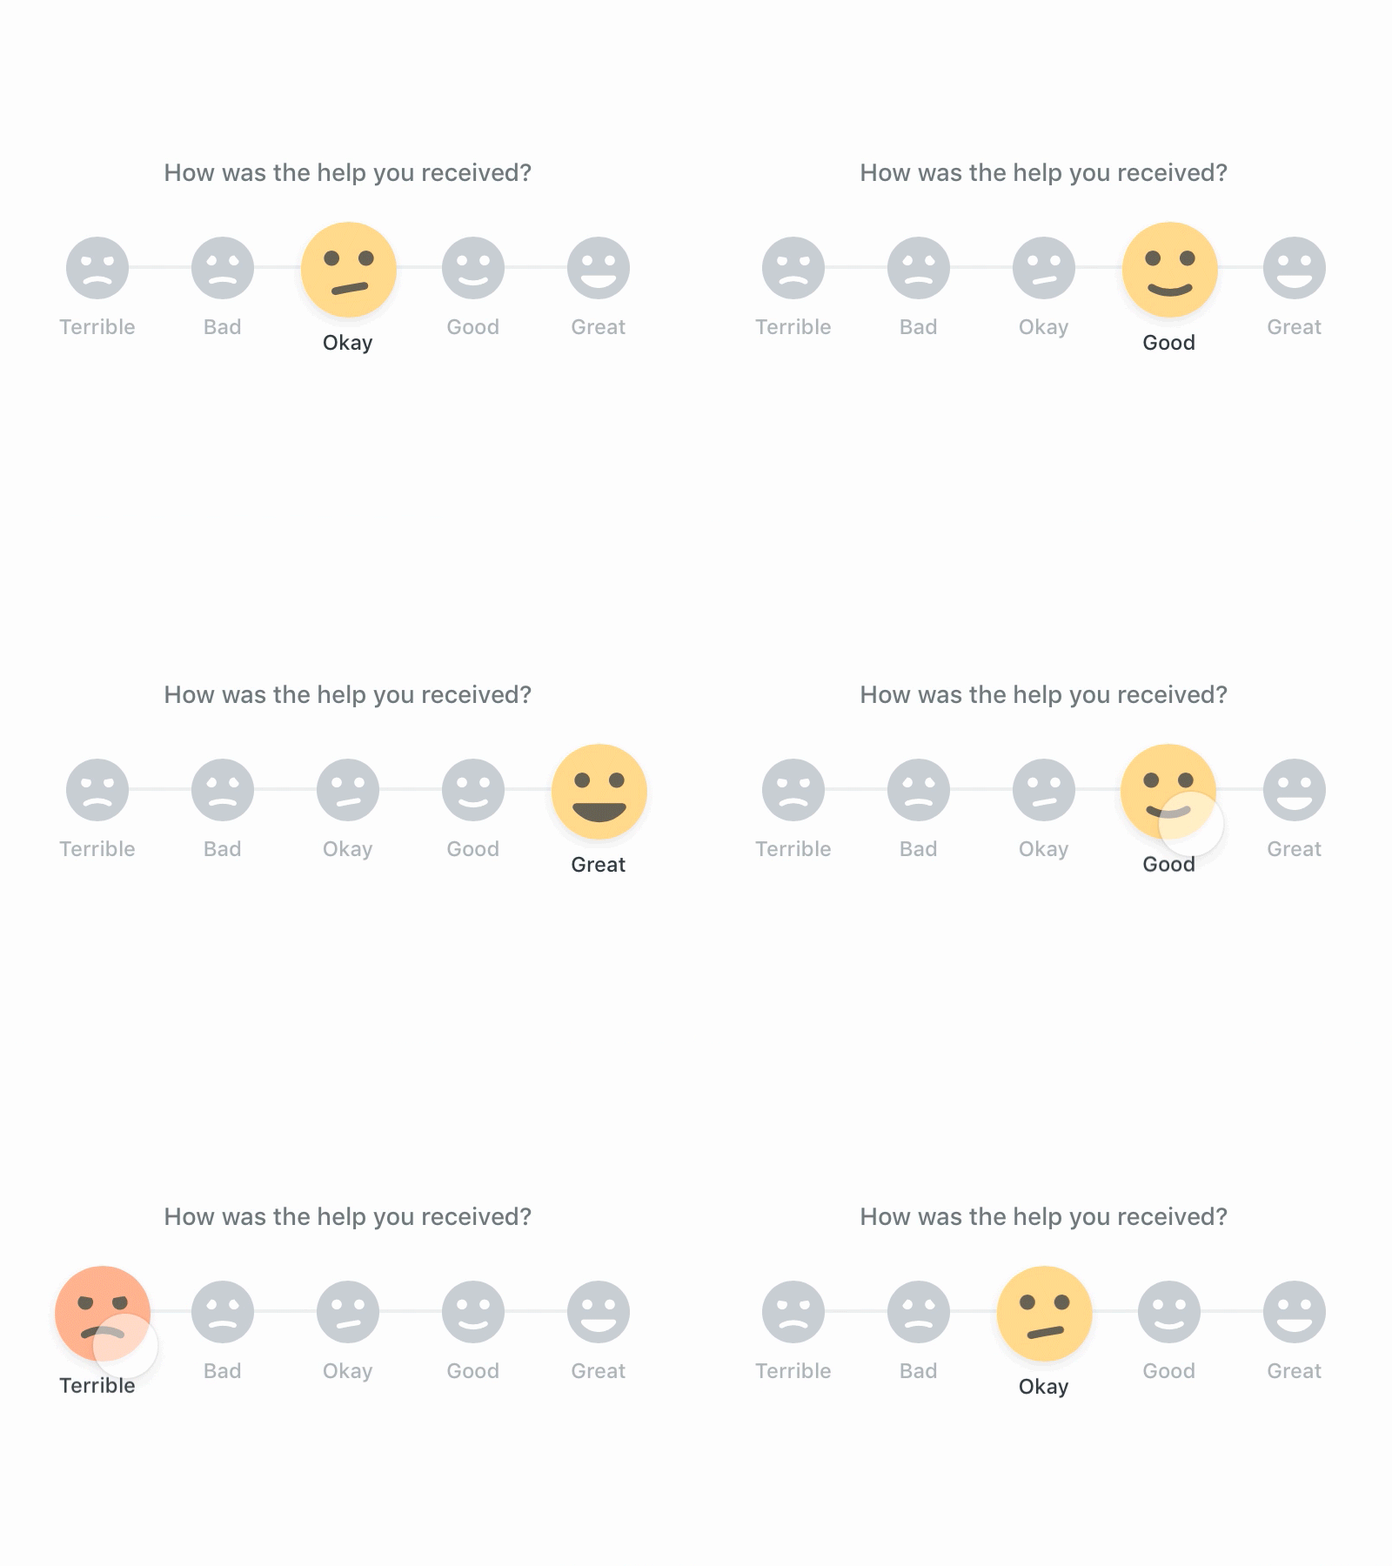
Also while doing some research I came across another feedback UI. It is much more interesting and I will try to build this and publish on my blog. Here is how that UI looks :

Video Tutorial